
Cloud Functions と Firebase Functions って別物だったんですね。知りませんでした。
今回、Python で Functions を作りたかったので、Cloud Functions を使います。
Firebase Functions は JavaScript しか対応していませんでした。
環境
- Windows 11 Home 21H2 22000.556
- Python 3.10.1
準備
Google Cloud SDK
Cloud Functions の開発には「Google Cloud SDK」のコマンドが必要なのでインストールします。
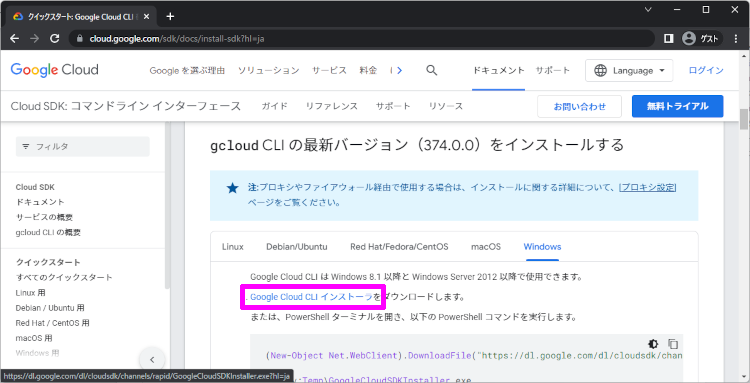
次のURL から Google Cloud CLI インストーラー をダウンロードします。
https://cloud.google.com/sdk/docs/install-sdk?hl=ja
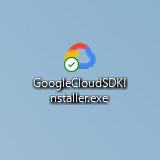
ダウンロードした「GoogleCloudSDKInstaller.exe」をインストールすると開発に必要なコマンドが使えるようになります。
インストール
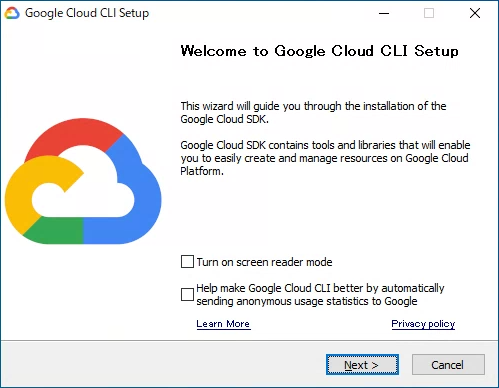
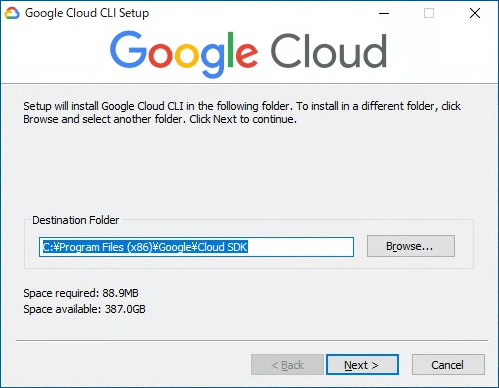
Google Cloud CLI Setup
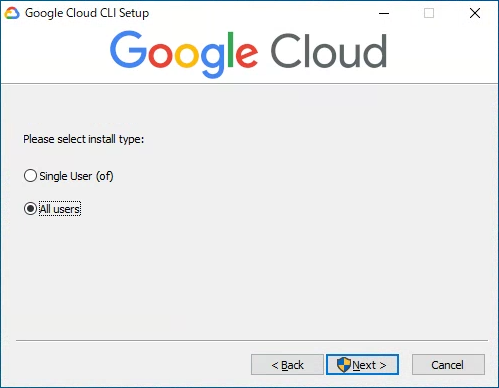
「All users」を選択すると「Program Files」にインストールされます。お好みでどうぞ。
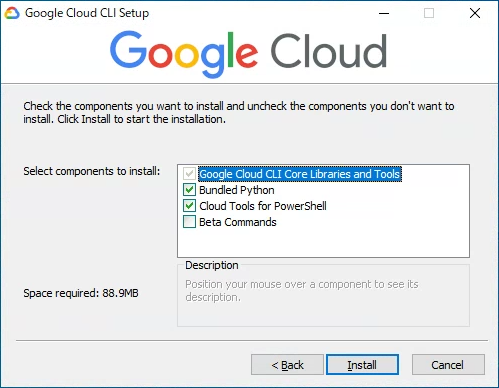
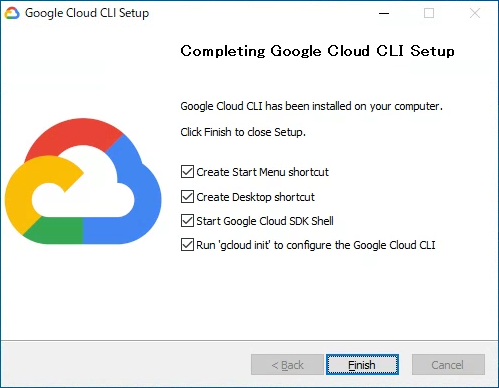
インストール完了

設定
次のコマンドで初回設定することができます。
1 | gcloud init |
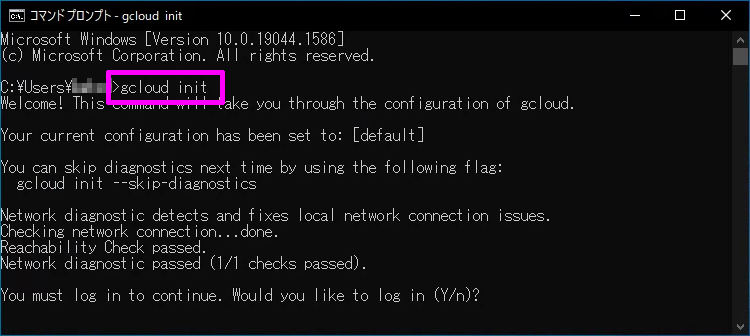
Google にログインして初回設定をしていきます。
1 | You must log in to continue. Would you like to log in (Y/n)? |
ブラウザからGoogleにログインして連携させます。

1 | This account has no projects. |
プロジェクトが無い場合は、ここからプロジェクトの作成に入ります。
1 | Enter a Project ID. Note that a Project ID CANNOT be changed later. |
これで初回設定は完了です。
作成
Python
Cloud Functions の HTTP関数 を使って、WebAPI を作成します。
まず、次のコマンドで必要なパッケージをインストールします。
1 | pip install flask |
次に、新規「main.py」ファイルを作成し、次のコードをコピペします。
1 | from flask import escape |

デバッグ実行
正しく動くかデバッグ実行してみます。
1 | functions_framework --target=hello_http |
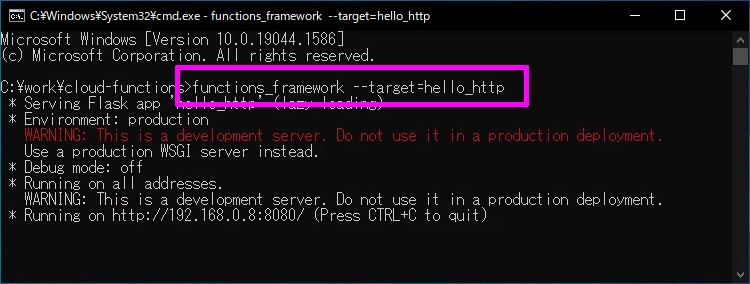
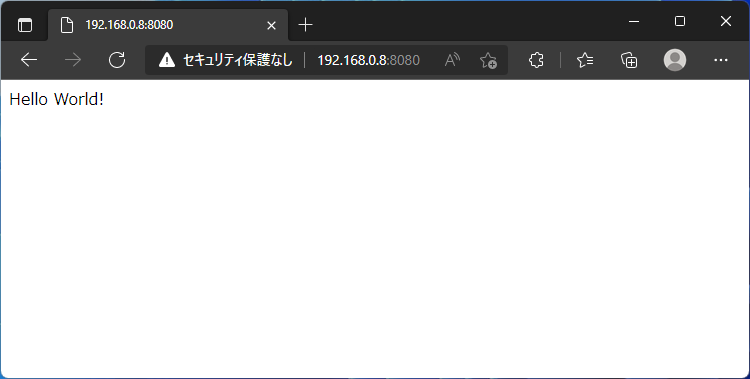
実行すると URL が表示されるので、ブラウザからアクセスします。
curlコマンドを使って、POSTデータを投げることもできます。
1 | curl -X POST http://192.168.0.8:8080 -H "Content-Type:application/json" -d "{\"name\":\"Noita\"}" |

Windowsの場合、JSONをダブルクォートでくくって、なおかつ、ダブルクォートをエンマークでエスケープさせる必要があります。これ気が付くまで結構時間がかかりました。
デプロイ
動作確認ができたら実際にデプロイしてみます。
次のコマンドで Cloud Functions にデプロイすることができます。
1 | gcloud functions deploy hello_http --runtime python39 --trigger-http --allow-unauthenticated --project toriaezu-project |
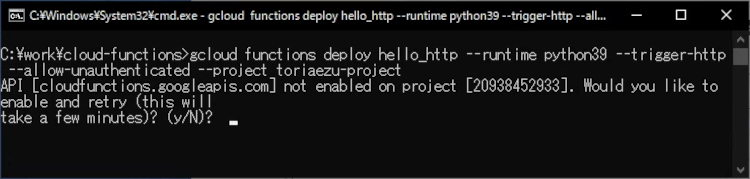
初回デプロイ時は Cloud Functions が無効になっているので「Y」を入力して有効にさせます。
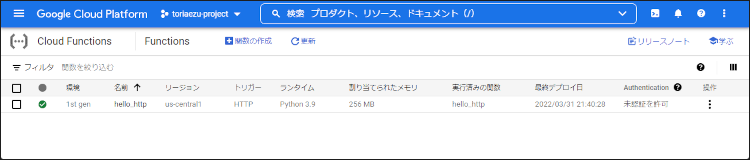
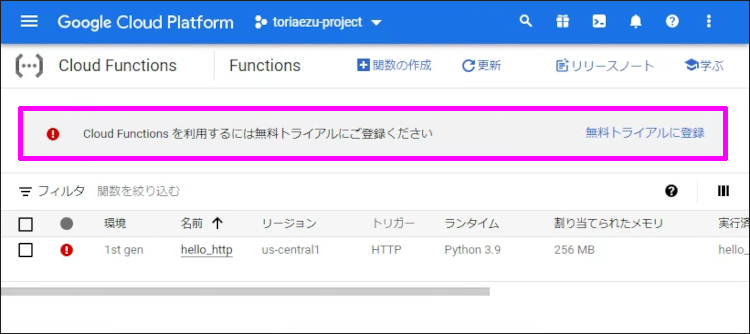
デプロイに成功した場合、コンソール で確認することができます。
デプロイエラー
もし、エラーがでた場合は コンソール にアクセスして原因を探ってください。
1 | ERROR: (gcloud.functions.deploy) OperationError: code=9, message=Failed to initialize region (action ID: 785d4b576734d0df): Cloud storage operation for gcf-sources-20938452933-us-central1 failed as the billing account is not available |

今回のエラーは請求情報を登録していなかったため、発生していました。
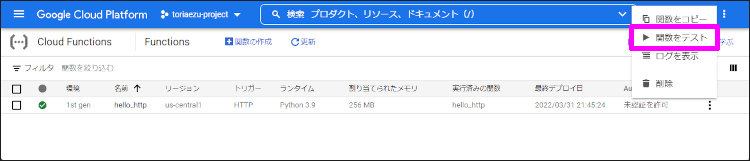
関数テスト
デプロイされた WebAPI を実際に叩いて動作確認します。
右の操作をクリックして「関数テスト」を選択します。
トリガータブをクリックすると、デプロイされたURLが分かります。
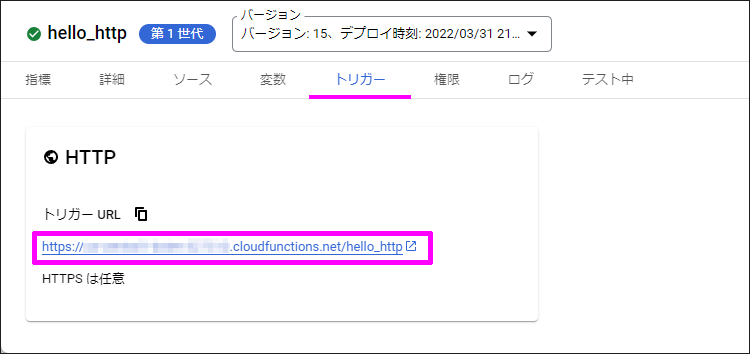
ブラウザで開くと、デバッグ実行した時と同じ結果が表示されます。

POSTも同様に確認してみてください。