
呼び出し順
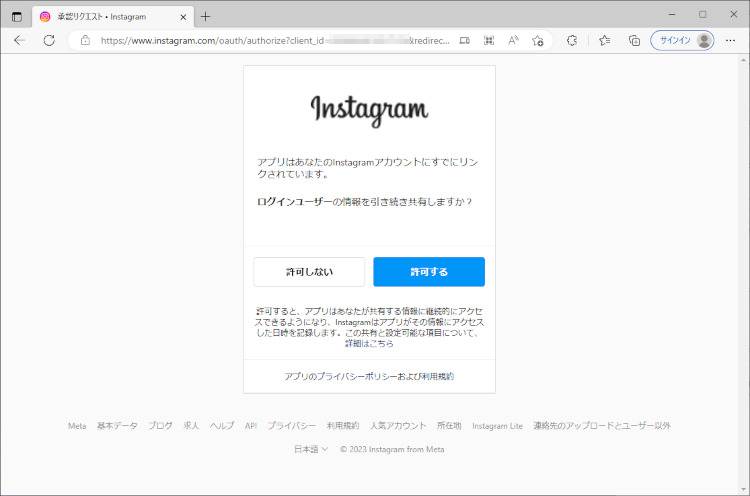
認証
JavaScript で次のコードを呼んで、Instagram の認証ウィンドウで認証します。
1 | window.location.href = `https://api.instagram.com/oauth/authorize |
認証に成功すると、URLに認証コードが付与されて返ってきます。

アクセストークン
認証コードを使って、アクセストークンを取得します。
1 | const searchParams = new URLSearchParams(window.location.search); |
成功すると次のJSONが返ってきます。
- アクセストークン
- ユーザーID
1 | { |
ただしここで注意が必要です。
ここで返ってきたユーザーIDは使えません。
次の工程で改めてユーザーIDを取得して、そのユーザーを使っていくようにします。これに気がつくまで丸1日かかりました。
ユーザー情報
アクセストークンを使って、ユーザーIDを取得します。
1 | const response = await axios.get(`https://graph.instagram.com/v16.0/me?fields=id,username&access_token=${access_token}`); |
成功すると次のJSONが返ってきます。
- ユーザーID
- ユーザー名
1 | { |
InstagramグラフAPI
これでやっと必要な情報がそろいました。
ユーザー情報で取得したユーザーIDとアクセストークンを使って、 InstagramグラフAPI が使えるようになります。
1 | const response1 = await axios.get(`https://graph.instagram.com/v16.0/${me.id}?access_token=${access_token}`); |