Bevy 3D モデル表示

Uncategorized
525 words

3D モデルを読み込んでゲーム内に表示させます。

環境

  • Windows 11 Home 23H2
  • Rust 1.76.0
  • Bevy 0.12.1
  • Blender 3.3.2

3D モデル

itch.io から無料の 3D モデルをお借りしました。

Bevy で 3D モデルを読み込ませるには ‘GLTF 2.0’ 形式に変換する必要があります。

変換には Blender を使いました。
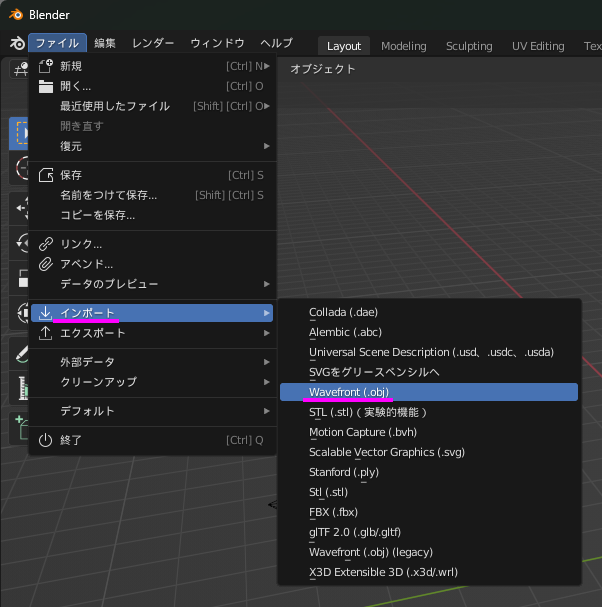
インポート

ファイル -> インポート -> Wavefront (.obj) を選択

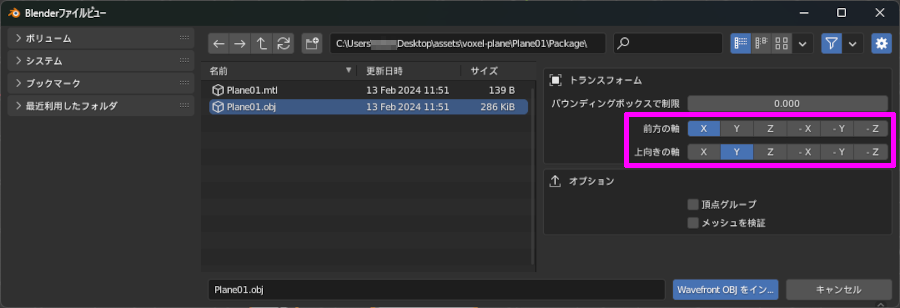
Bevy は、右手 Y アップ座標 形式を採用しているため、Blender で変換するときは Y軸 が上になるように設定します。
https://bevy-cheatbook.github.io/fundamentals/coords.html#2d-and-3d-scenes-and-cameras

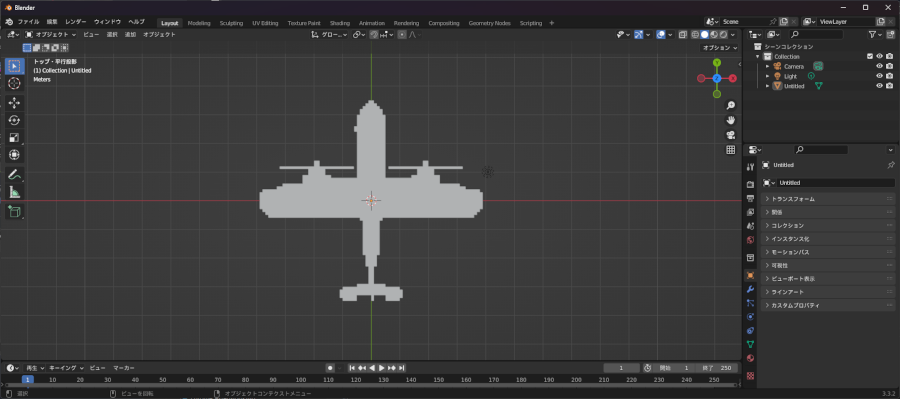
Y軸を上にしたとき、3D モデルが上を向いているか確認します。
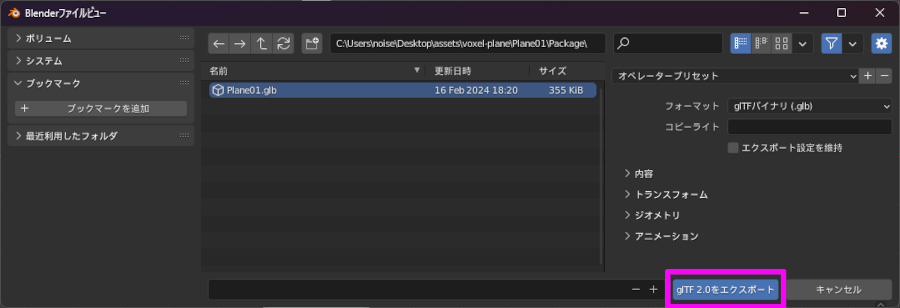
エクスポート

ファイル -> エクスポート -> glTF 2.0 (.glb/.gltf) を選択

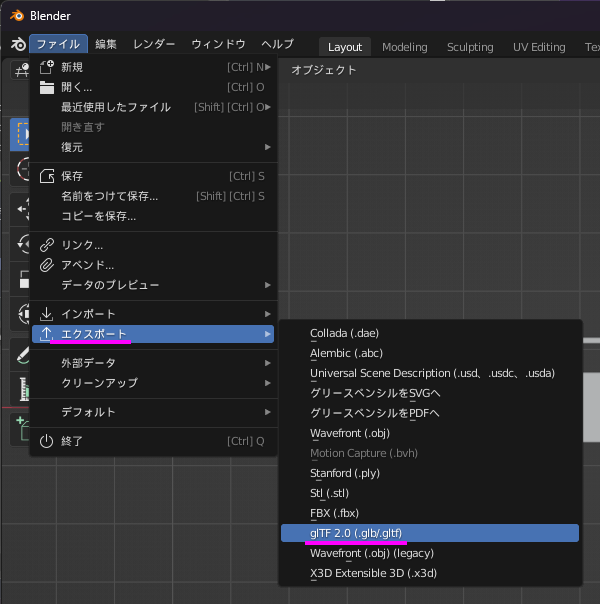
特に設定は変えずエクスポートして問題ありませんでした。

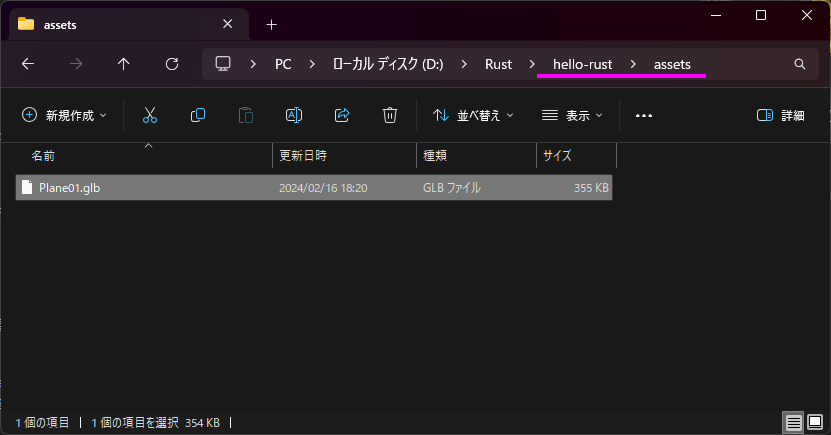
プロジェクトディレクトリ内の assets フォルダーに 3D モデルを入れておけば、ゲームから参照することができます。

ゲームのコード

src/main.rs ファイルを開き、以下のように修正します。

1
2
3
4
5
6
7
8
9
10
11
12
13
14
15
16
17
18
19
20
21
22
23
24
25
26
27
28
29
30
31
32
33
34
35
36
37
38
39
40
41
42
43
44
45
46
47
48
49
50
51
52
53
54
55
56
57
58
59
60
61
62
63
use bevy::{app::*,ecs::{system::*,},utils::*,math::*,transform::{components::*,},scene::*,render::{camera::*,color::*,mesh::*,},core_pipeline::{core_3d::*,},pbr::*,asset::*,DefaultPlugins,};

fn main() {
App::new()
.add_plugins(DefaultPlugins)
.add_systems(Startup, setup)
.run();
}

fn setup(
mut commands: Commands,
mut meshes: ResMut<Assets<Mesh>>,
mut materials: ResMut<Assets<StandardMaterial>>,
ass: Res<AssetServer>,
) {

// 円形メッシュの作成
// 白色のマテリアルを適用
// X軸を90度回転
commands.spawn(PbrBundle {
mesh: meshes.add(shape::Circle::new(4.0).into()),
material: materials.add(Color::WHITE.into()),
transform: Transform::from_rotation(Quat::from_rotation_x(-std::f32::consts::FRAC_PI_2)),
..default()
});

// 点光源の追加
// 影の有効化
commands.spawn(PointLightBundle {
point_light: PointLight {
intensity: 1500.0,
shadows_enabled: true,
..default()
},
transform: Transform::from_xyz(4.0, 8.0, 4.0),
..default()
});

// 3Dカメラをシーンに追加
// シーンの中心を見下ろすように設定
commands.spawn(Camera3dBundle {
projection: OrthographicProjection {
scaling_mode: ScalingMode::FixedVertical(16.0),
scale: 1.0 / 3.0,
..default()
}.into(),
transform: Transform::from_xyz(0.0, 12.0, 16.0)
.looking_at(Vec3::ZERO, Vec3::Y),
..default()
});

// 3D モデルを配置
// 'Scene0' ラベルを含める必要があることに注意
commands.spawn(SceneBundle {
scene: ass.load("Plane01.glb#Scene0"),
transform: {Transform {
translation: Vec3::new(0.0, 1.0, 1.0),
scale: Vec3::new(0.3, 0.3, 0.3),
..default()
}},
..default()
});
}

ビルドと実行

ターミナルで以下のコマンドを実行して、アプリケーションをビルド実行します。

1
cargo run

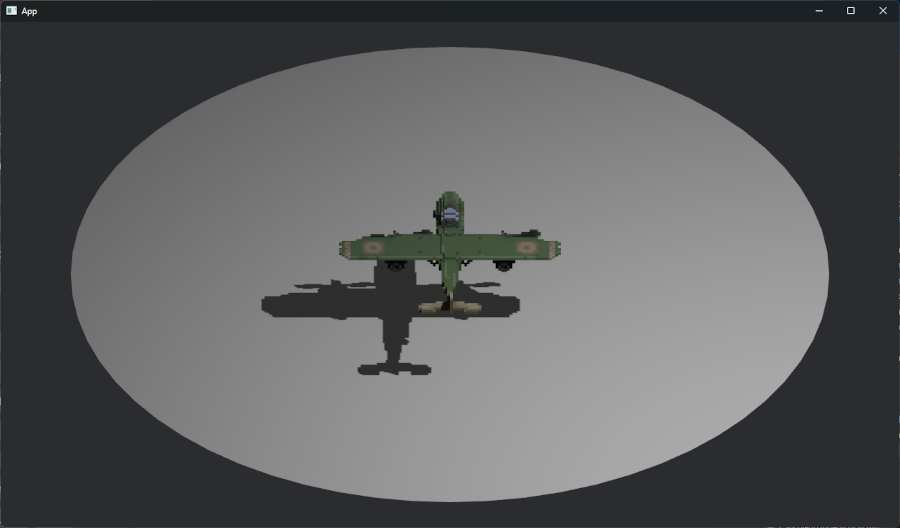
ゲームに 3D モデルが表示されれば成功です。

参考

https://docs.rs/bevy/0.12.1/bevy/index.html

https://bevy-cheatbook.github.io/3d/gltf.html?highlight=SceneBundle#3d-models-and-scenes-gltf

https://itch.io/game-assets